
3 Tips That Will Turn Your Shaky Strokes Into Stunning Brush Lettering
- Lishia Letters

- Oct 21, 2019
- 3 min read
Updated: Dec 6, 2019
Brush Lettering is SUPER popular right now. Chances are that you’ve come across it before on your social media feeds. Or you might have come across it by way of its other aliases (modern calligraphy, brush calligraphy, etc.) The point is, if you’ve ever wanted to learn how to create stunning brush lettering then now is the best time to do it. Today I’m going to share 3 simple tips that will definitely up your brush lettering game.
Before we get into any tips that will improve your brush lettering skills, we have to discuss 2 important strokes; upstrokes and downstrokes. These strokes are the pillars of brush lettering and can make or break your work. The “brush lettered” look is created by applying varying pressure to create thick and thin strokes. Here is the cardinal rule:
The UPSTROKES are thin and the DOWNSTROKES are thick
Upstrokes, are the strokes that you draw “upward” when writing a letter. Take a look at the example below. On the letter “h” the arrows show you where I took my pen and went “up”.

Downstrokes are just the opposite. These are the strokes you draw “downward” when writing a letter. In the example below, the arrows that point down are showing where I had to draw strokes that went in a “downward” direction.

Now that we’ve cleared that up, you should have a better idea of why they are so critical to good brush lettering. We’re ready to dive into my top 3 tips to give you better upstrokes and downstrokes, and will ultimately give you amazing results.
1. Practice Consistency
I know this tip is probably making you groan, but the age-old saying that “practice makes perfect” is still popular for a reason. In the lettering community there is another popular saying, which says“practice makes progress." Both are true in brush lettering. The more you practice you put in the more improvement you will see in your strokes. You’ll gain muscle memory and confidence which will eliminate shaky strokes, which will yield better brush lettered work.
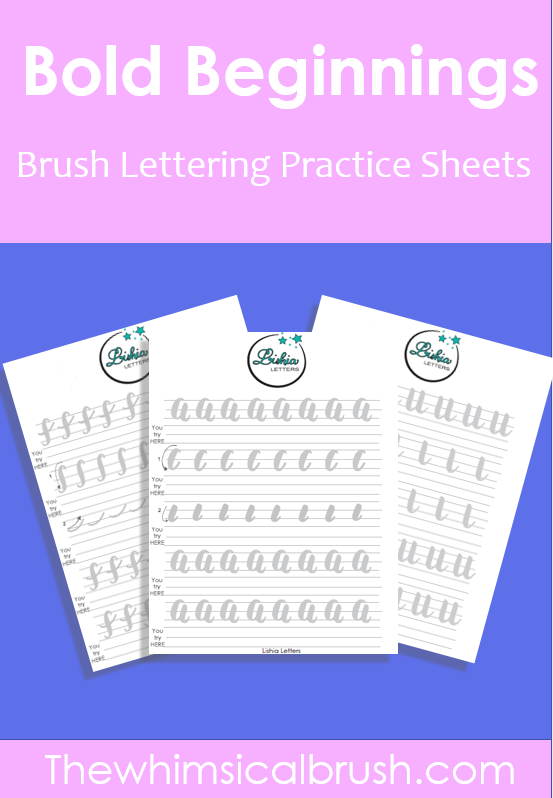
The most important thing you can do to build muscle memory with the strokes is PRACTICE! There are several places you can get practice sheets. Pinterest has tons and tons of lettering resources and practice sheets with guides for you to trace and follow. Just remember that your main goal should be to get familiar with the movements. .
I created an exclusive FREE mini-course that will help you perfect your basic strokes so that you will help you master brush lettering. If you're interested fill out your information below.
2. Go Slow
When you’re practicing your strokes it can be tempting to write in the speed that you use for your normal handwriting. Don’t do that! Resist the urge and go slow I cannot stress enough the important of going slow. It gives to the opportunity to create sure and confident strokes.
Make a conscious effort to make yourself go slow. This is where you have to remember to be intentional. Take your time to ensure that you will get good strokes. This tip may seem small but it can make a BIG difference.
3. Warm up Your Hand
No, I’m not talking about what you do in the cold to warm your hands. I’m talking about warming up those fingers another way. By doing practice strokes before you start your “real lettering”. It’s easy, just take out a scrap piece of paper and do some practice strokes, swirls and curves to get your hand ready. It sounds trivial but it really does make a tremendous impact in your lettering.
I hope that you enjoyed my 3 tips for transforming shaky strokes into stunning lettering. If you have any questions, feel free to ask in the comments or shoot me an email at lellis@lishialetters.com.


Comments